
Installation
The WMO CAP Composer can be installed in two ways:
As a standalone complete Wagtail project
As a set of Wagtail apps that can be integrated into an existing Wagtail project, such as ClimWeb.
The following sections provide instructions on how to install the WMO CAP Composer as a standalone project using a docker-compose stack.
Standalone Installation
This option will set up a Wagtail project together with the complete components required to run the WMO CAP Composer.
Clone the repository
git clone https://github.com/World-Meteorological-Organization/cap-composer.git
Change into the project directory
cd cap-composer
Create an initial .env file and required host data directories
source create-initial-config.sh /home/$USER/cap_composer-data
Replace localhost in the `.env` file to your server’s IP address or domain name
sed -i 's/localhost/<your_ip_or_domain>/g' .env
Or use your favorite text editor to edit the .env file and update the ALLOWED_HOSTS and CSRF_TRUSTED_ORIGINS variables.
Copy the nginx configuration file
cp nginx/nginx.conf.sample nginx/nginx.conf
Copy the docker-compose file
cp docker-compose.sample.yml docker-compose.yml
Build the Docker containers
docker compose build
This may take some time to download and build the required Docker images, depending on your internet connection.
Run the Docker containers
docker compose up -d
Check if the docker container are starting
docker ps -a
You should see the following containers running:
capcomposer
capcomposer_celery_worker
capcomposer_celery_beat
capcomposer_mbgl_renderer
capcomposer_web_proxy
capcomposer_db
capcomposer_redis
nginx_proxy_manager
If any of the containers are not starting, you can check the logs for the container by running:
docker logs <container_name>
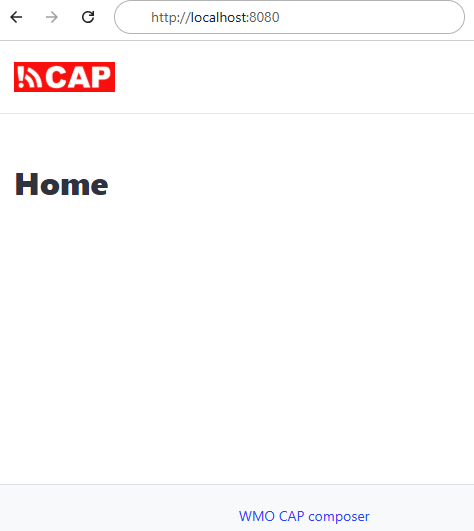
Check the CAP Composer homepage at
http://<your_ip_or_domain>:8080.
You should see the following page:
If you the message 502 Bad Gateway, wait a few seconds and refresh the page as the containers are still starting.
If you see the message Bad Request (400) or Forbidden (403), check the logs for the
cap_composercontainer for any errors:docker logs capcomposerThe logs might indicate that ALLOWED_HOSTS or CSRF_TRUSTED_ORIGINS is not set correctly. If so update the .env file and restart the docker containers:
docker compose down
docker compose up -d
After confirming the stack is running, create a superuser with the following command:
docker compose exec capcomposer capcomposer createsuperuser
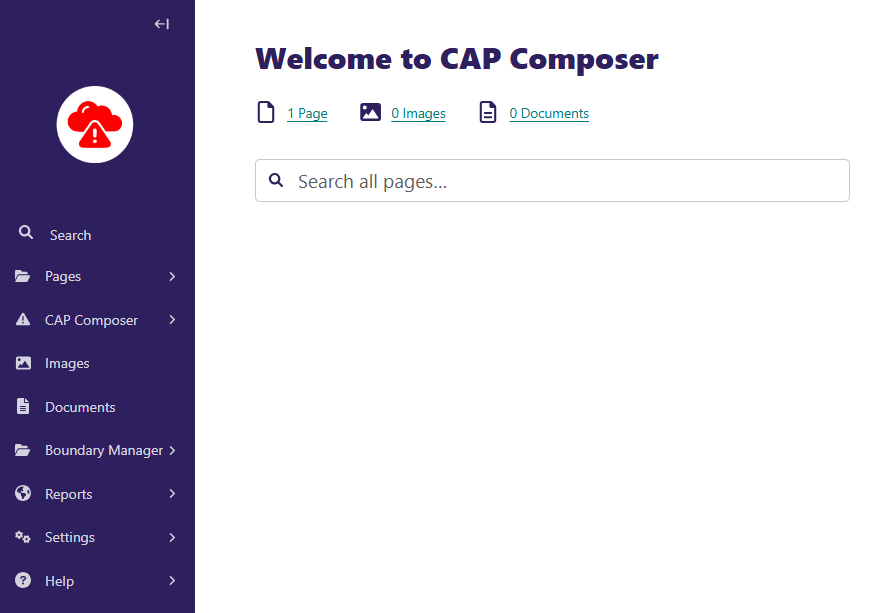
Login to the Wagtail admin
Visit
http://<your_ip_or_domain>:8080/cap_composer/loginand you should see the login-page:
Login with the superuser credentials you created in the previous step. You should see the Wagtail admin page, along with the CAP Composer components:
Your installation is now complete.
Please note that you should not expose port 8080 of your host on the public internet.
Next: Proceed to the Securing your installation to set up SSL and make your CAP Composer available over the public internet.